Getting started with DiscoOffers
This is the self-serve quickstart for publishers: it walks you from sign-up to publishing, start to finish. You can complete setup on your own — work through the steps below, finish your integration, then signal your Disco team when you're ready for review.
1. Complete the onboarding wizard
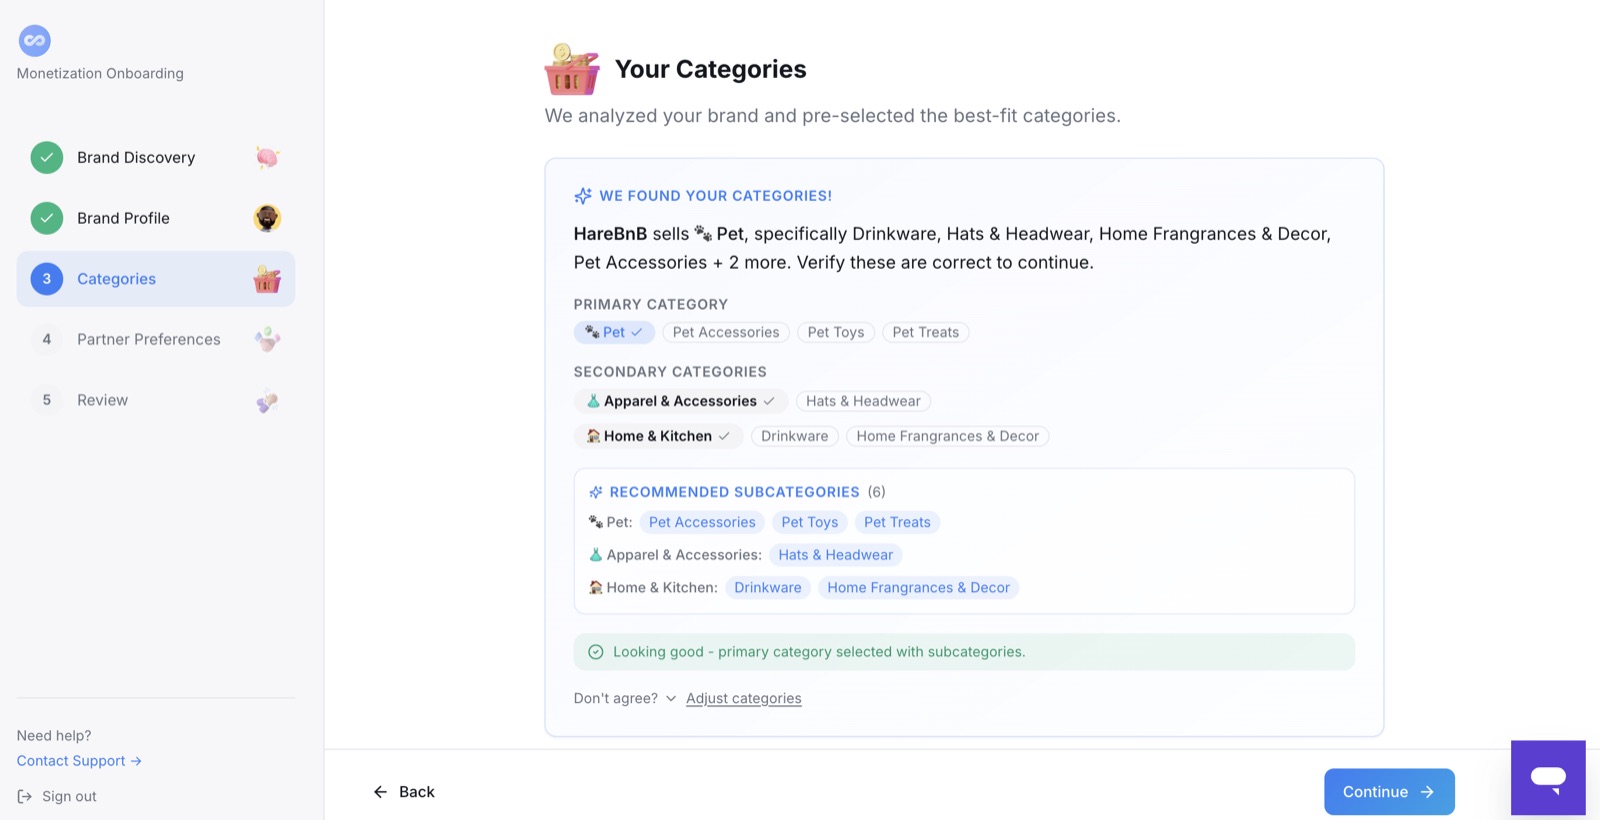
Disco walks you through a guided setup — Brand Discovery → Brand Profile → Categories → Partner Preferences → Review & Terms — auto-filling what it can from your website, so you mostly confirm:
- Brand Profile — your name, logo, tagline, and website(s).
- Categories — confirm your primary category. This also tells Disco's model not to show advertisers in your own category, so there's no overlap with what you sell. Adjust if it's mischaracterized. Be as specific as possible, but don't over-select — too many categories limits your earning potential — and only pick subcategories that directly relate to your product catalog. Be as specific as possible, but don't over-select — too many categories limits your earning potential — and only pick subcategories that directly relate to your product catalog.
- Partner Preferences — set your exclusions (see the next step).
- Review & Terms — review your setup and agree to the Terms of Service and Privacy Policy before payouts.
Already a Disco advertiser? Switch to the publisher side and your brand info carries over automatically — no re-entry. The wizard pre-selects your categories from your brand profile; verify them, and note that sensitive subcategories are auto-excluded from the start.
2. Set your exclusions
Decide which advertisers and categories can appear on your pages before you go live. You can exclude whole categories, block individual brands, and auto-exclude sensitive categories in one step. See Setting up exclusions.
3. Install DiscoOffers and finish your integration
Add DiscoOffers to both of your post-purchase surfaces — your thank-you page and your order status page. Your setup isn't complete until your integration is live, so finish this step before you signal you're ready.
Pick the path that matches your store:
- Shopify, on checkout extensibility → Shopify Checkout Extensibility
- Shopify, not on checkout extensibility → Adding Disco to your Shopify store
- Non-Shopify (web store or app) → install with the Web SDK
Not sure which fits? See Choosing your integration method.
4. Set up your payouts
Disco pays publishers via ACH. Complete the ACH form your Disco team provides so we have your bank details on file — they'll route it to our finance team to set up payment. Doing this during onboarding means you get paid without delay once you're live. See Reporting and payouts.
5. Publish and signal you're ready
Once it's set up, publish DiscoOffers and let your Disco team know you're ready for review — reply to your onboarding email or use the Help option in the platform.
6. Review and go live
Your Disco team confirms your setup — exclusions configured, DiscoOffers published and rendering on both pages — and then activates your account. For what comes after setup, including review and any agreement steps, see Going live: review and activation.
Onboarding is self-directed: you set the pace, and your Disco team is the backstop when you need them.
Related articles
- What is DiscoOffers for Publishers?
- Setting up exclusions
- Choosing your integration method
- Going live: review and activation
- Shopify publisher → one-click install via Shopify setup.
- Not on Shopify → see Setup → Choosing your integration method (Web SDK / app SDKs).