Getting started with DiscoAds

DiscoAds puts your brand in front of verified shoppers at the moment they've just bought something from another store — when the card is still warm and attention is high. This guide walks you through creating your account and getting your first offer live.
How DiscoAds works
- A shopper checks out from one of the stores in the Disco network.
- Disco's matching engine decides, in that moment, whether your brand is a strong fit for that shopper based on what they actually buy.
- If it is, your offer is shown — as a recommendation, not an interruption.
- The shopper clicks through to your site. You pay only for performance, based on your bid model.
You're reaching people who just demonstrated they buy in your category — not browsers.
Creating your account
-
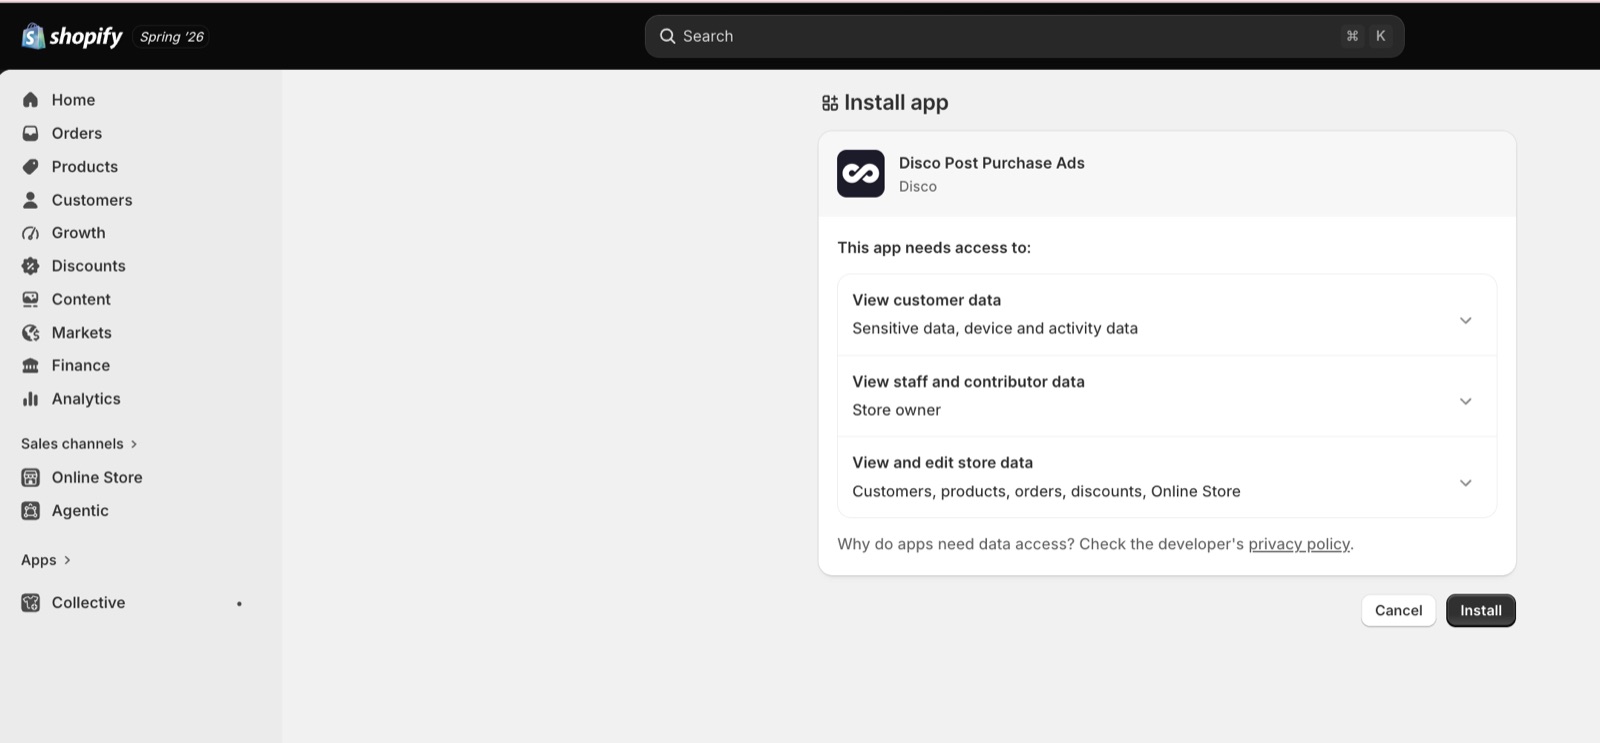
Sign up. From the login page, choose Get started. On Shopify? Pick the Shopify path and enter your store URL — you'll hop into your Shopify admin to install the Disco Post Purchase Ads app, which connects your store and auto-syncs your brand details and product catalog.
-
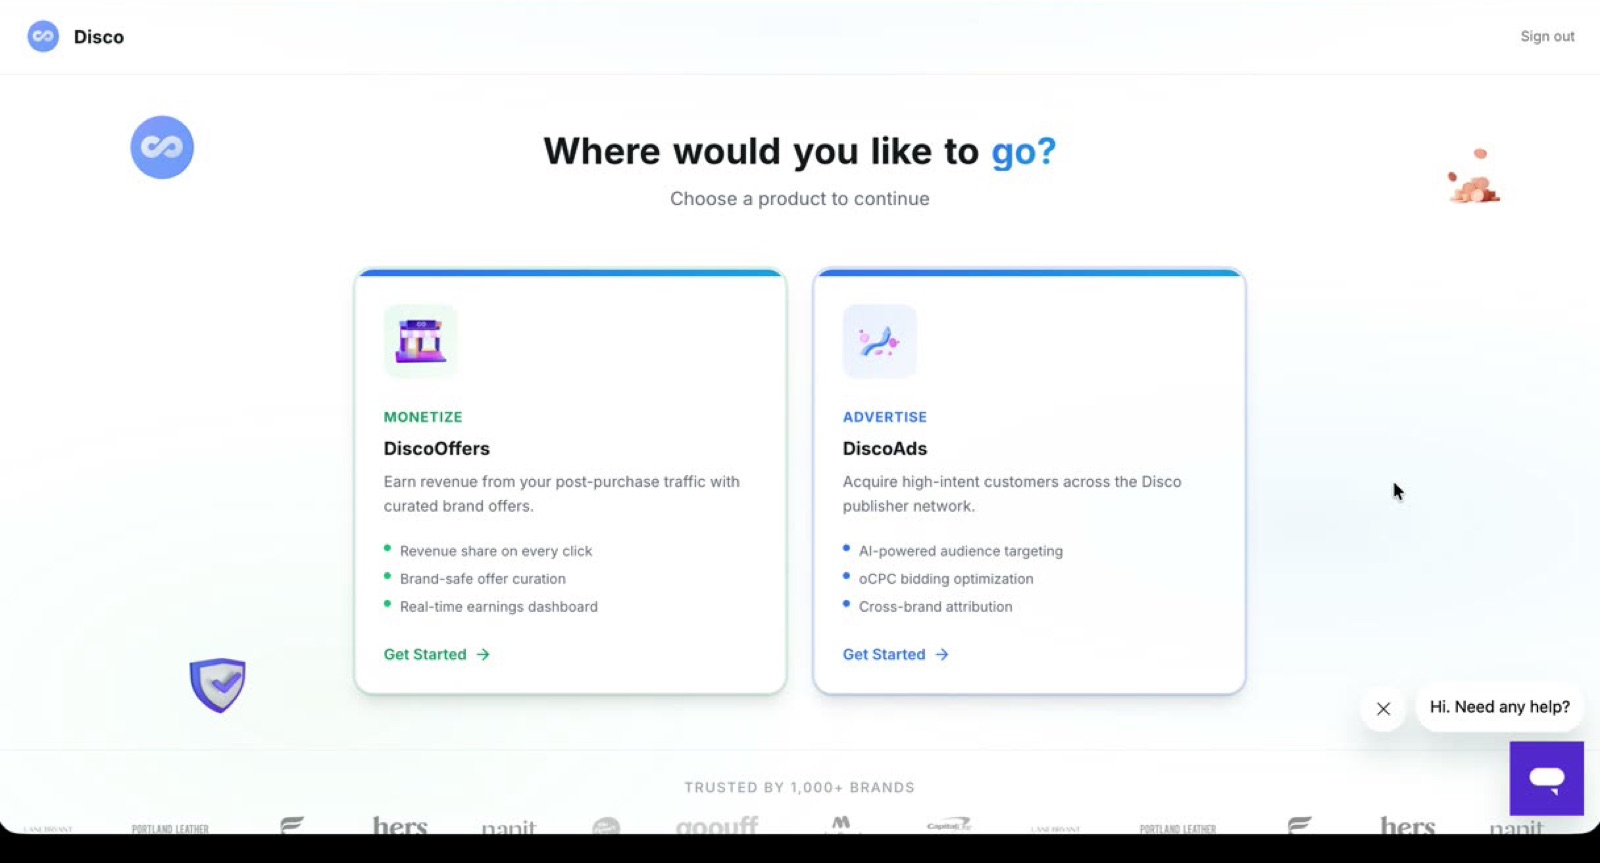
Choose DiscoAds. On the "Where would you like to go?" screen, pick DiscoAds (advertise across the network). You can enable DiscoOffers — earn as a publisher — later too; start with one, add the other anytime. Many brands do both.
-
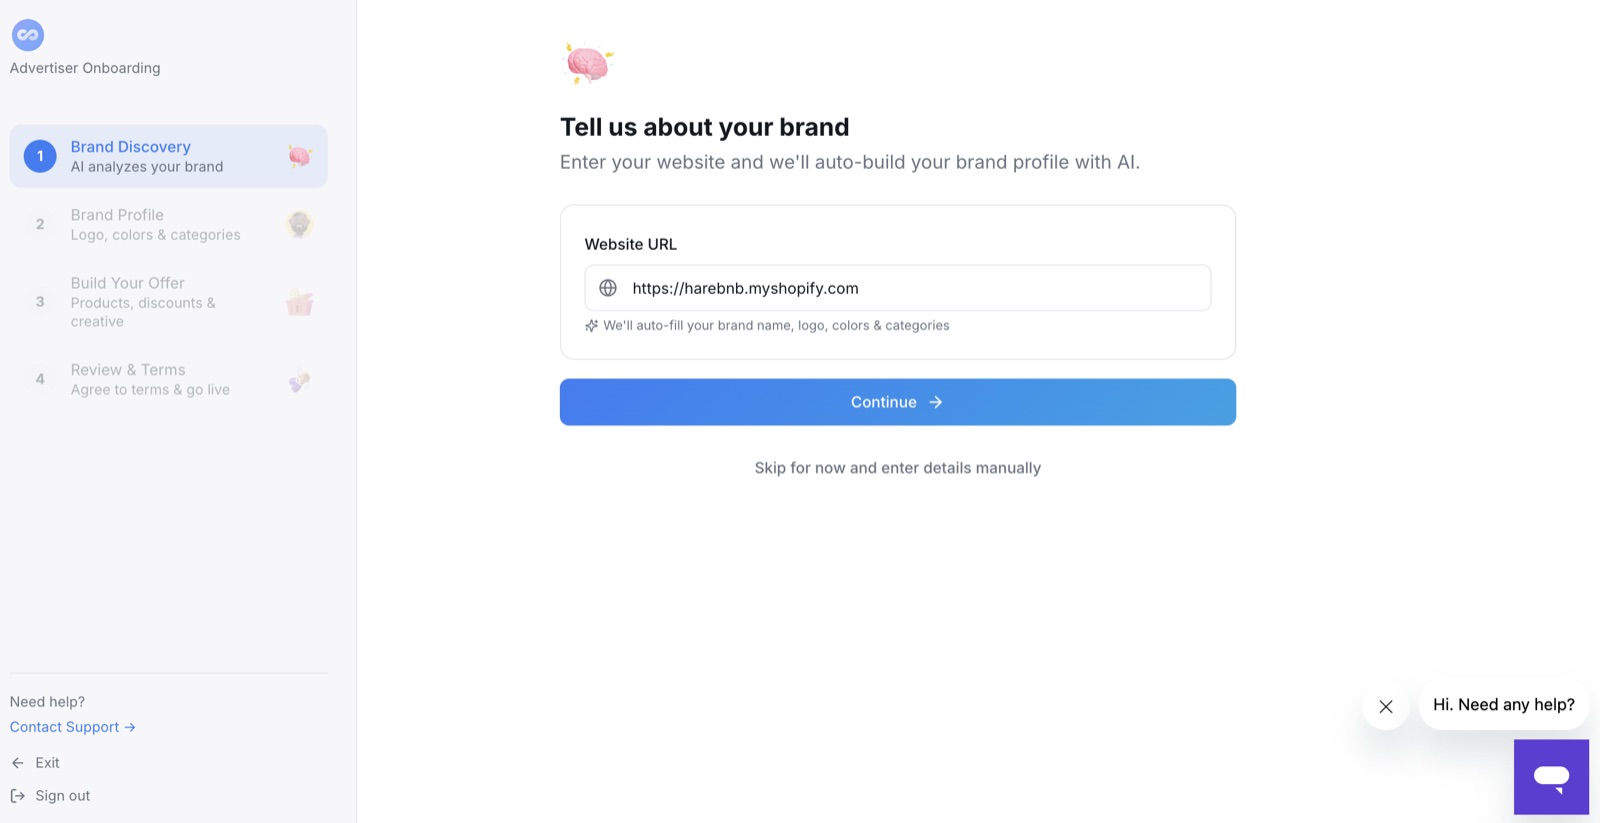
Tell us about your brand. Enter your website URL and Disco scans it to auto-build your brand profile — name, logo, colors, tagline, and a short description.
-
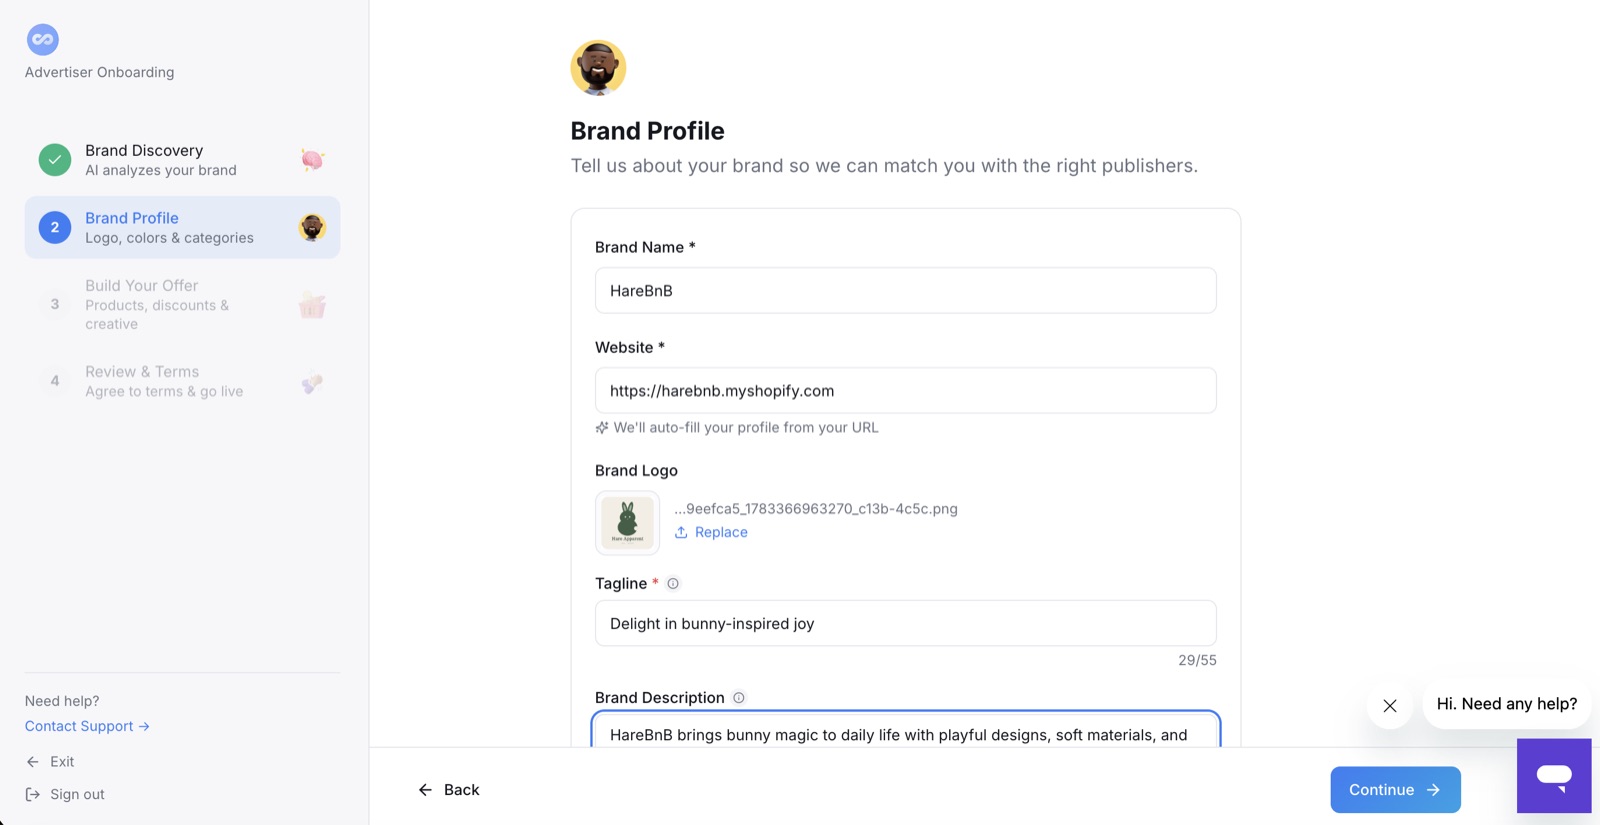
Review your Brand Profile. Check what the scan pulled and fix anything that's off — replace the logo, tighten the tagline. Your description also gives the matching model context, so keep it clear.
-
Select your categories. Choose the categories that describe your company, set a primary category, and pick at least one subcategory. Verify these carefully — they're the basis for where our recommendation model shows your offers.
-
Set up your first offer. See Setting up your offer.
Finish setup to go live
Your first offer won't go live until setup is complete. Alongside your offer, you'll:
- Provide your creative — your logo, plus (on Shopify) your top four products on the Products tab. A banner image is requested from every advertiser — nice to have, not required to launch. See Ad specs and creative guidelines.
- Set your bid — most advertisers start with cost-per-click. See Setting your bid.
- Set up conversion tracking — so you can measure what DiscoAds drives. See Setting up conversion tracking.
- Add billing details — DiscoAds bills through Stripe. Add your payment method in the Stripe billing portal, or see Managing your account, team, and billing.
Your Disco team confirms tracking is firing, then your campaign launches.
What to expect once you're live
- Your campaign enters a ramping period while the model calibrates — expect early numbers to move around over the first few weeks, with full optimization typically taking 1–3 months.
- Reporting is under the Reporting tab. See Reading your DiscoAds reporting.
- Copy is the fastest lever on performance. If results are soft early, refresh your heading and creative first. See Improving creative performance.
Related articles
- Setting up your offer
- Setting your bid
- Setting up conversion tracking
- Improving creative performance
- Shopify advertiser → start with Shopify setup (connect your store + sync your catalog), then set your offer and bid.
- Not on Shopify → skip Shopify setup; set your offer and bid and use the Web SDK / Event API for conversion tracking (see Developers).